The LightWave Mailing List Contest
Hall of Fame


October 1997 - Compositing Magic


1st Place

"CgCg" Created by: Steve Hurley
E-Mail: shurley@world.std.com
Web-Site: http://world.std.com/~shurley


RAW image
Artist's Comments
"CgCg"

These Computer Generated Canada Geese were fashioned with MetaNurbs/Form and Macroform. I used Gaffer's LSD tool to composite them on the standin river object. Photoshop was used to make a custom displacement map for the slight ripples and to blur the reflections.

I took the background picture with my old Nikon with a 80-200 zoom during a early morning canoe trip down the Sudbury River, just outside of Boston.


2nd Place

"VScomp"
Created by: Andrew Bradbury
E-Mail: andrew@digital-animations.com>


RAW image
Artist's Comments
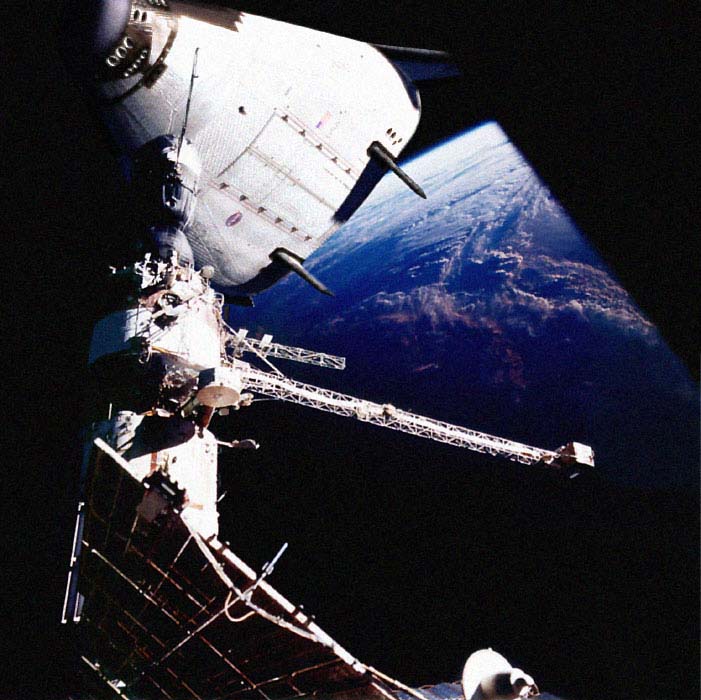
"Early in the next century, a next-generation space shuttle, the VentureStar aligns itself to dock with the new International Space Station"

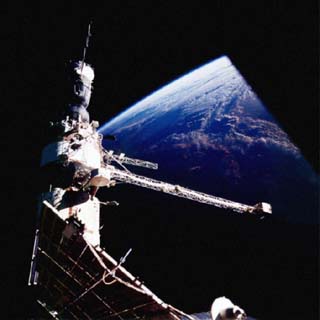
The image was composted against a stock image of the Mir spacestation from Nasa's web site, originally at twice the resolution here. A mask was generated by Photoshop, and used to composite the top part of the station over the ship. After rendering, the layers were tweaked and cleaned up in Photoshop.

The model of the Venturestar is 'only' 11899 polygons, and has about 14Mb of image maps. (although the lores maps are only 3Mb) The ship took approximately 5 hours to render at print resolution, with enhanced high antialiasing, and one area light.

The almost-finished image was taken into Photoshop to make minor corrections, and adjust brightness/contrast, as well as filtering to give the final look.


3rd Place

"Bug Zapper"
Created by: Elben Schafers
E-Mail: elben@bioware.com


RAW image
Artist's Comments
This is my entry for the October contest. I found the landscape image and thought that one of my character objects would work with the image nicely. The objects were created in Lightwave. In Photoshop I created a alpha image the same size as the original, with the black areas representing the branches, where my objects would be behind. In layout, the main image was put in the background, also in the foreground with the alpha image in the alpha layer. My objects were arranged and lit with a redish hue. For the shadow under the main character, I tried to create it in the scene. I created a wavy form to represent my ground object and in layout used it to cover up the feet. I put a spot light with a shadow map above the main character to cast a realistic shadow. The ground plane object had a projection map as the surface, but with the redish light shining on it, it darkened the colors to the point it wouldn't work. I ended up rendering the ground plane and shadow seperatly, selecting the area of just the shadow in photoshop and working with character placement to fix a fake shadow.


Back to the tvcd.com home page


Event Horizon Studios
Contact Info

This web site created and maintained by Event Horizon Studios
Unless otherwise noted, everything on this website is:
Copyright © Event Horizon Studios, all rights reserved.