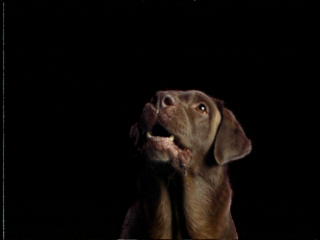
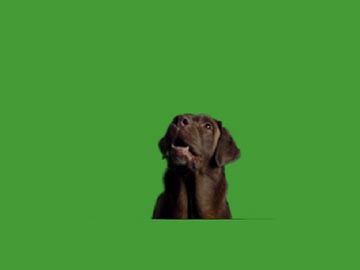
Here's two images again. The first one is Rommi keyed on black background (with ultimatte, again, but use whatever you wish ;-)
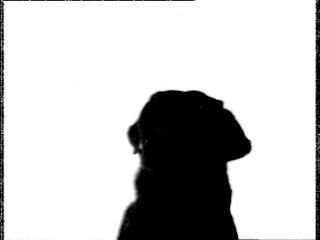
And the second one is a mask for him.
I will use still frames here, but naturally you should export an image sequence out from your editing app for use in LW.
In these images you can clearly see the blanking edges i mentioned
Ok. Let's hop to Modeler and quickly create a box in which we will map our blue screen character Rommi:
I used this size, because 72 cm * 57,6 cm box automatically has the correct aspect ratio for PAL D1 video, which is 720*576 resolution.
Give the box a surface like "Video01" and save it as "Video_box_01.lwo"
Load the object to Layout
In the surfaces panel, give it the following color texture:
Use the "keyed over black" sequence, in my case
I use the "Rommi" still:
Automatic sizing, Z - axis, Height and width repeat off, pixel blending and texture anti-aliasing off.
Set diffuse to 0% and Luminosity to 100%
Copy the settings [Ctrl C] (Works in LW 5.6 >) and paste them to transparency channel [Ctrl V]
(If you use older LW, copy settings manually)
Use the mask sequence instead of the keyed over blk:
Test render [F9] (I used green BG to see how the key works - you may need to go to frame 1 to see your sequence, it prolly doesn't start from frame 0)
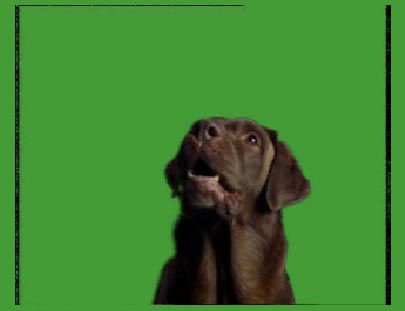
You can clearly see the black blanking artifacts. We will use a clip map to get rid of them:

Just apply the exact same settings as in the color and transparency channel, but with this mask image, and in the objects > appearance options > clip map texture panel.
F9
Errors be bygone! Save this as a scene, so when you load this object from scene, the clip map will stay attached to it.
Save your object.
Next we need a scene to put Rommi in:
I used the one that's my entry for LWML's "LW-mascot" contest ;-)

Of course they changed the logo after i finished this... DOH!!!
"Load from scene" the Video_box.lwo
F9 (without steamer etc.)
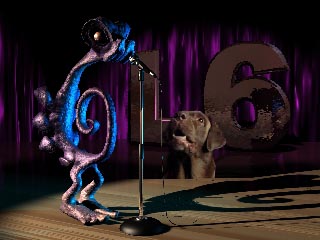
There's the doggie!
Naturally it must be placed somewhere in a convenient place - maybe I will just put him lurking behind the L6 set... or make him a small hatch in the floor, where he can give instructions to the singer...
These keyed images, that are mapped to a plane, can be anywhere in the scene, in front or behind any objects.
They cast shadows (Even volumetric steamer ones), and are seen in reflections and refraction.
You must use raytraced lights, as shadow maps don't see transparency. (Though there are ways around this problem)
You can move the camera anywhere within a decent angle from the plane without it giving up it's flatness... The final shot at the end of this tutorial is on the edge...
Also, if you do some figuring out, you will see that you can also rotate 360 degrees around the keyed stuff in LW - but maybe I will leave that as our in-house NDA trade secret whiz-bang technique ;-)
TIP: It involves similar preparations as in the compositing circular tracking, and also some inverse kinematics.
(Truth is that it's just a bit too long an explanation for the scope of this tutorial - maybe next time ;-)
Class dismissed - Congrats!!
Email Eki erkki.halkka@kolumbus.fi
Vist Eki's Web-Site

|
Product Info |
Ordering Info |
Support and Downloads |
Articles and Tutorials |
LightWave Mailing List Contest |
Mailing List Archives & Info |
LightWave Mailing List FAQ |
Other Interesting Web Sites |
