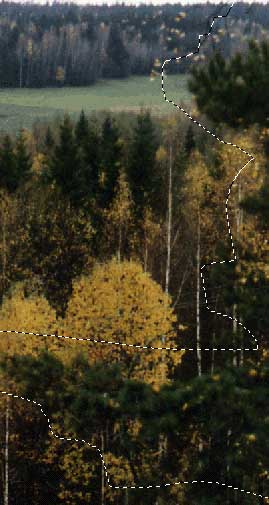
Open Photoshop. Load Woods.iff. Set the mode
to RGB.
Did you notice that the jpg image image was converted from 256 colors? I guessed you didn't!
Naturally you can just load the Woods.jpg, and continue from there as it's already RGB...
Copy the BG layer to a new layer. First roughly outline the branches of the tree with lasso tool:
Then use select color range / sampled colors and select the dark green colors of the tree.
Use shift key to add to your selection, and set the fuzziness to 0.
Select inverse [Ctrl shift I] , feather selection 5 pixels and delete. Make the background invisible.
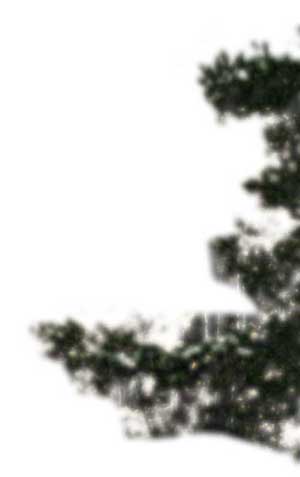
Doesn't even remotely look like a tree anymore? Don't worry, this may be good enough for our purposes as is.
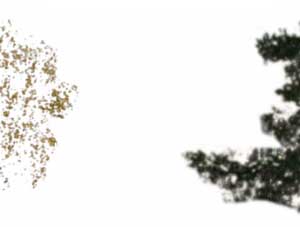
Repeat the procedure for the yellow foreground leaves on the left side. Use smaller feather amount, as these leaves aren't as much out of focus, and are overall better defined.
What you have should look a bit like this:
Now merge the visible layers, use Preserve transparency and fill them with black. Fill the background with white.
Save the flattened image as grayscale iff, with a name like Woods_mask.iff
(In this case it looked like there was unnecessarily high a resolution for our soft mask, so i scaled the image down to about half.)

|
Product Info |
Ordering Info |
Support and Downloads |
Articles and Tutorials |
LightWave Mailing List Contest |
Mailing List Archives & Info |
LightWave Mailing List FAQ |
Other Interesting Web Sites |
